How to make an Autumn leaf crown
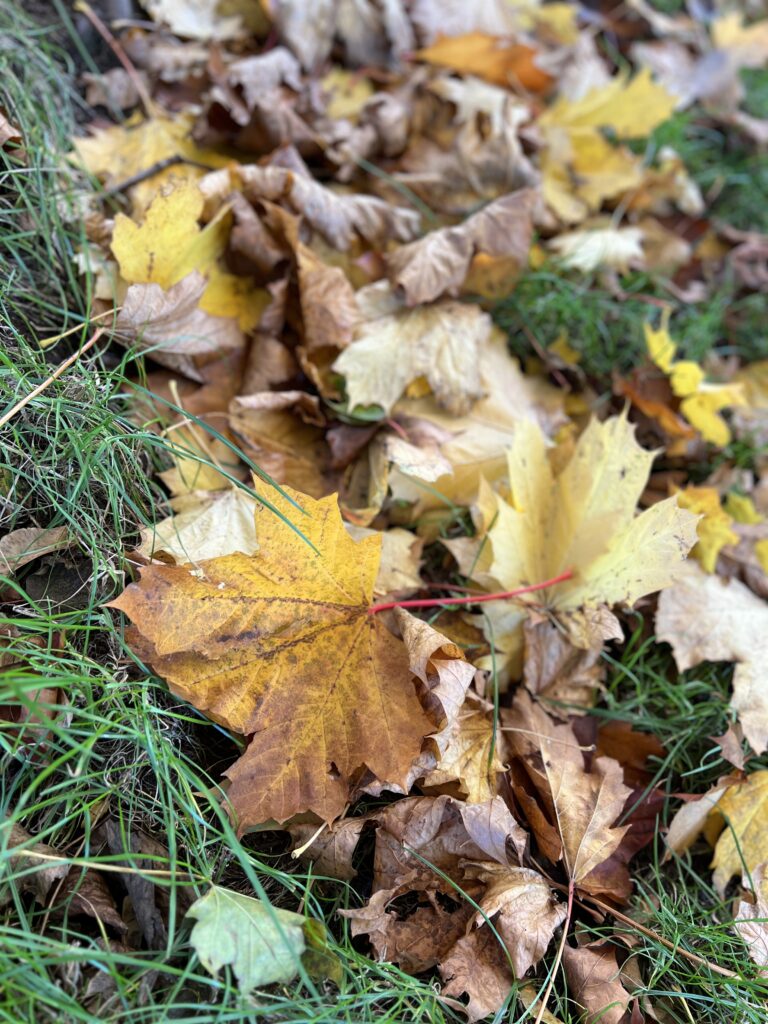
One of the greatest joys of Autumn is all the colourful leaves. There are so many fun crafts you can do with Autumn leaves, and one of our favourites is making Autumn leaf crowns.
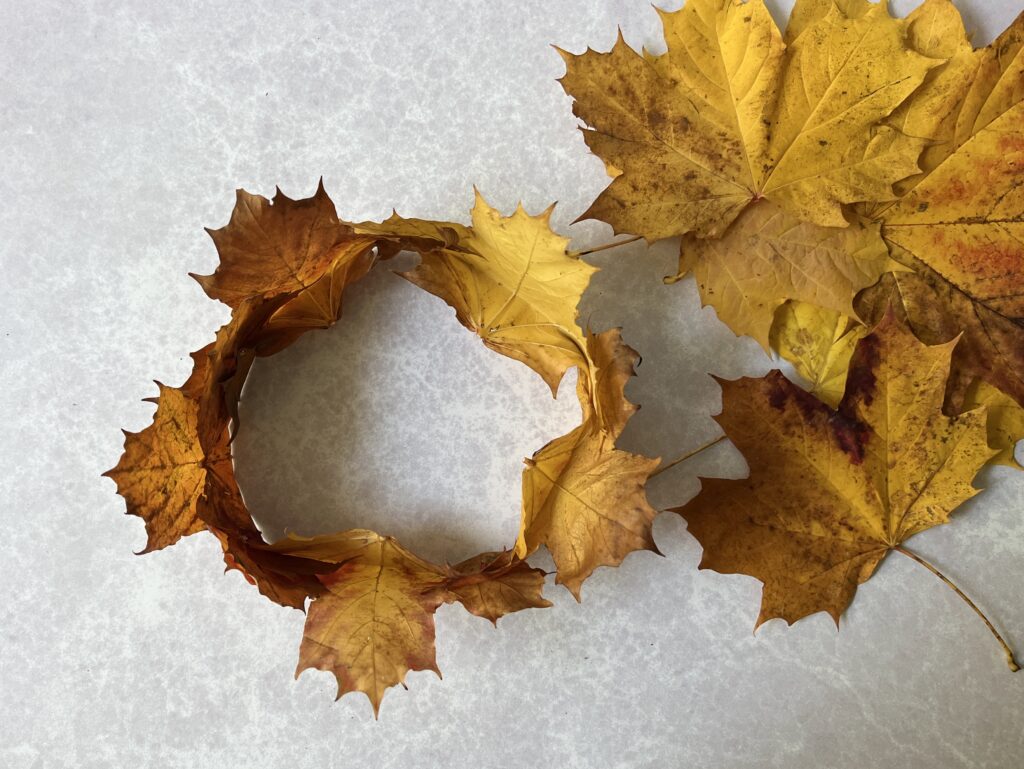
It’s really quite easy to make an Autumn leaf crown, and almost doesn’t require a tutorial. But I thought I’d sum it up here anyway for anyone who has never made one before.
First of all you need some colourful leaves, of course. Sycamore and maple leaves work great, the bigger the better. You can use smaller leaves too, it might just be a bit more fiddly and you will need more of them. For these crowns, we found some leaves that were so big we only needed 5 leaves per crown. You want leaves that are still very supply and bendy, and not dried out as dry leaves will just tear in the crown making process.
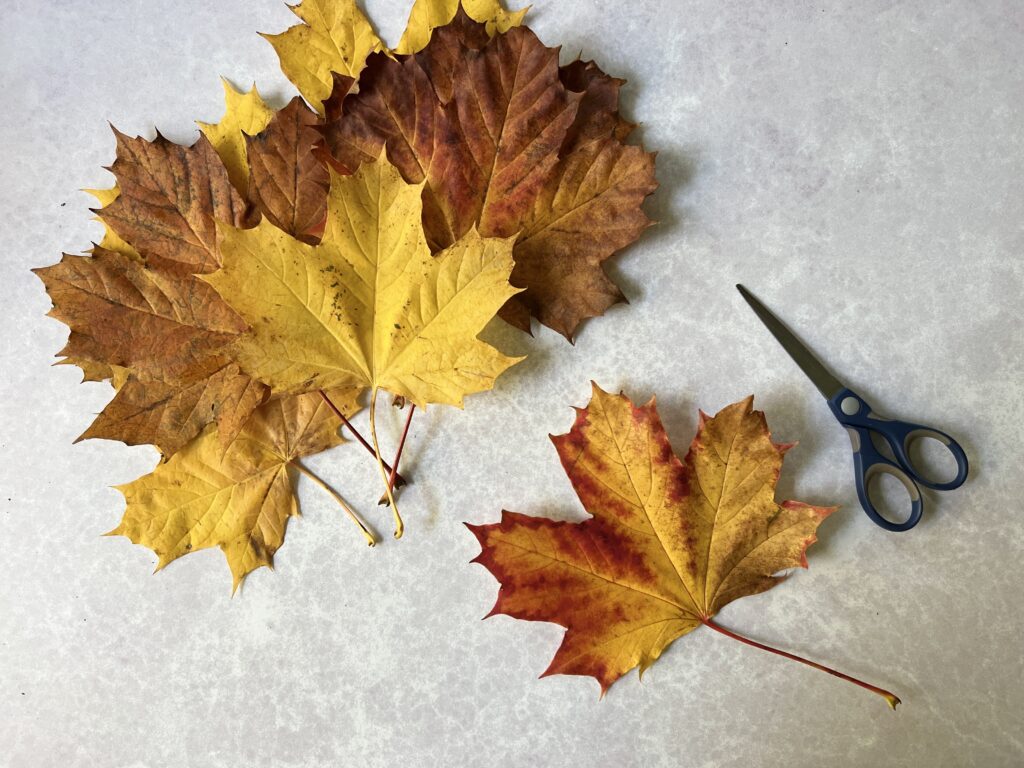
Step 1: Snip off the stems of the leaves with a pair of scissors, then trim the stems to roughly 4cm – 5cm in length.
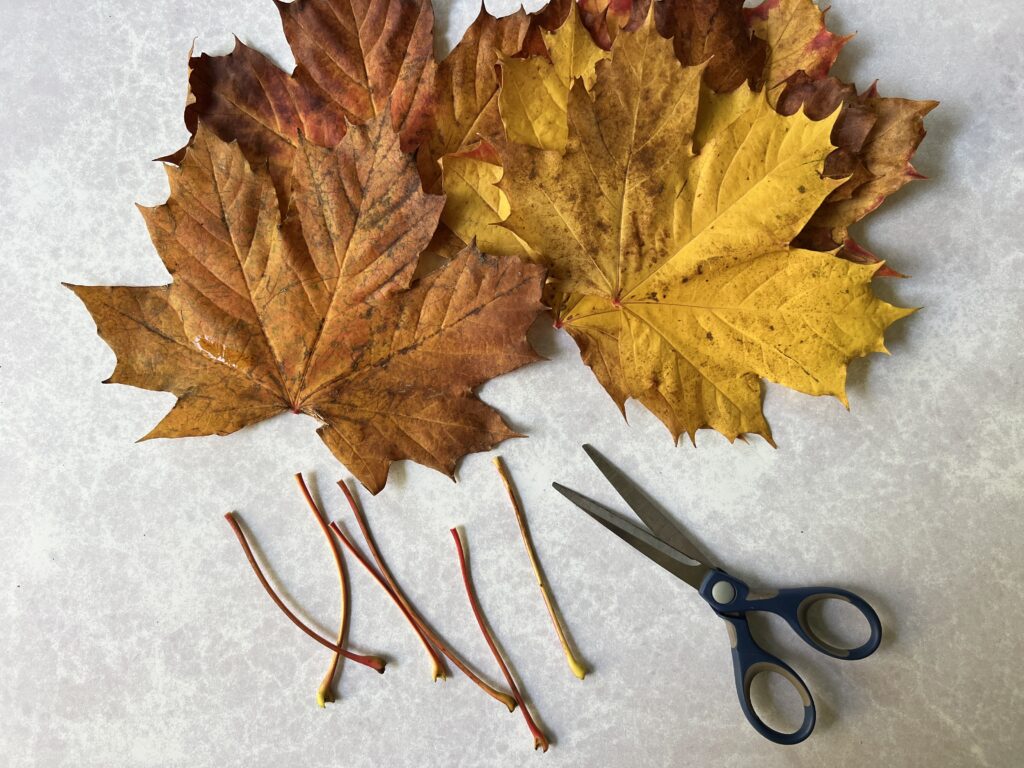
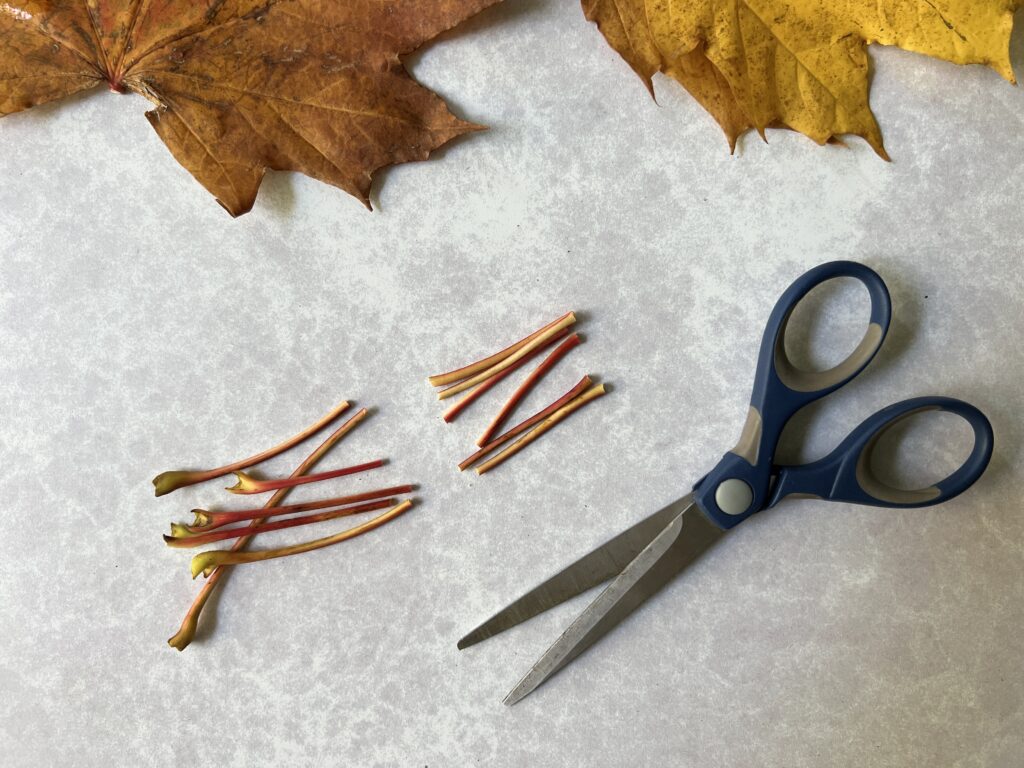
Step 2: Take your first leaf, and folder over the top two thirds. Gently crease it at the fold, being careful not to tear the leaf.
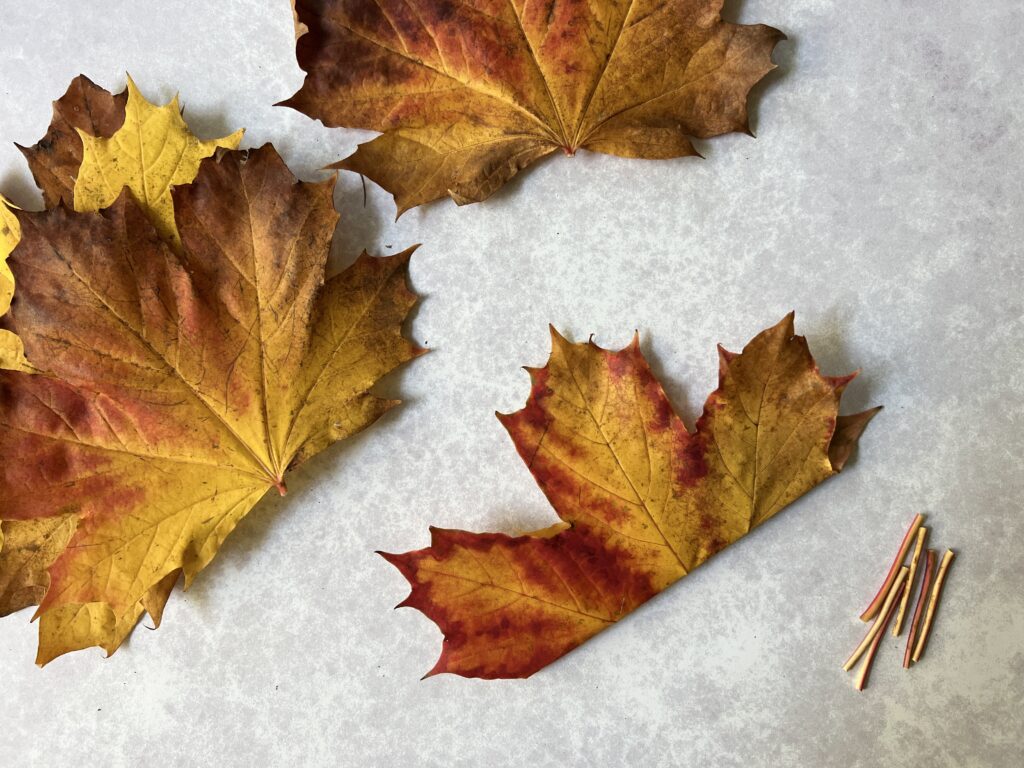
Step 3: Take the next leaf, folder it over in the same way, and slide it inside the first folded leaf so that they overlay by about 4cm – 5cm.
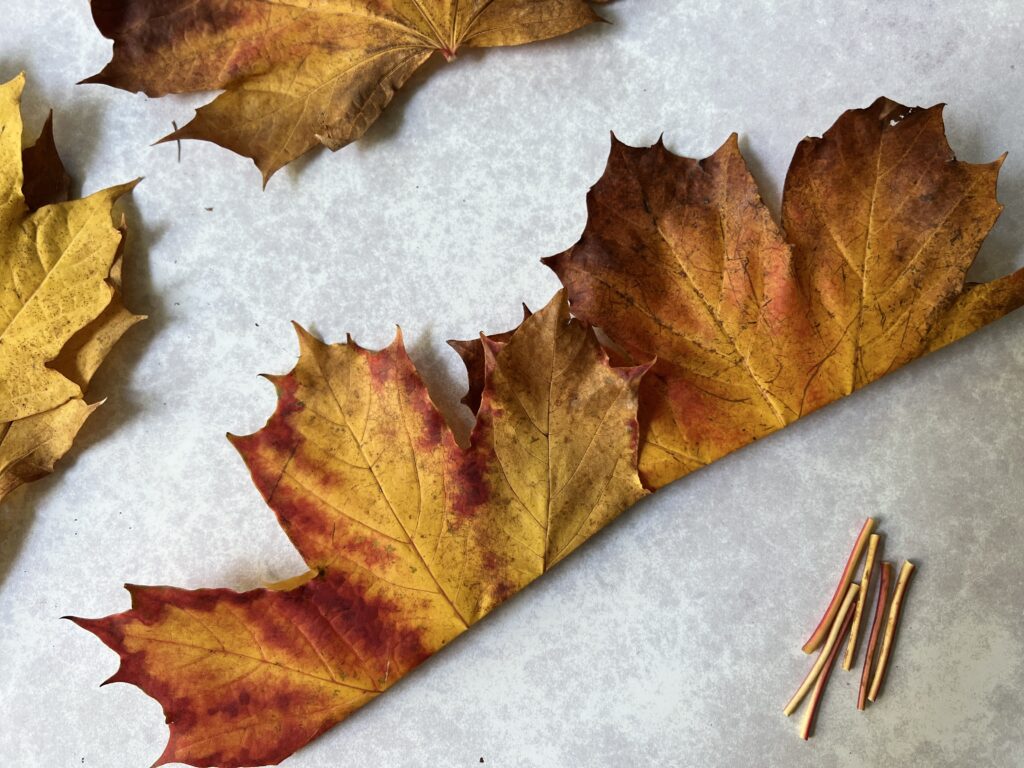
Step 4: Now take one of the trimmed stems, and carefully poke two little holes in the leaves where they overlap. Thread the trimmed stem in and out of the holes to ‘sew’ the leaves together.

Step 5: Keep adding more leaves in the same way, until your crown is wide enough to fit around your head. Slide the last leaf in to the first leaf and secure as before.
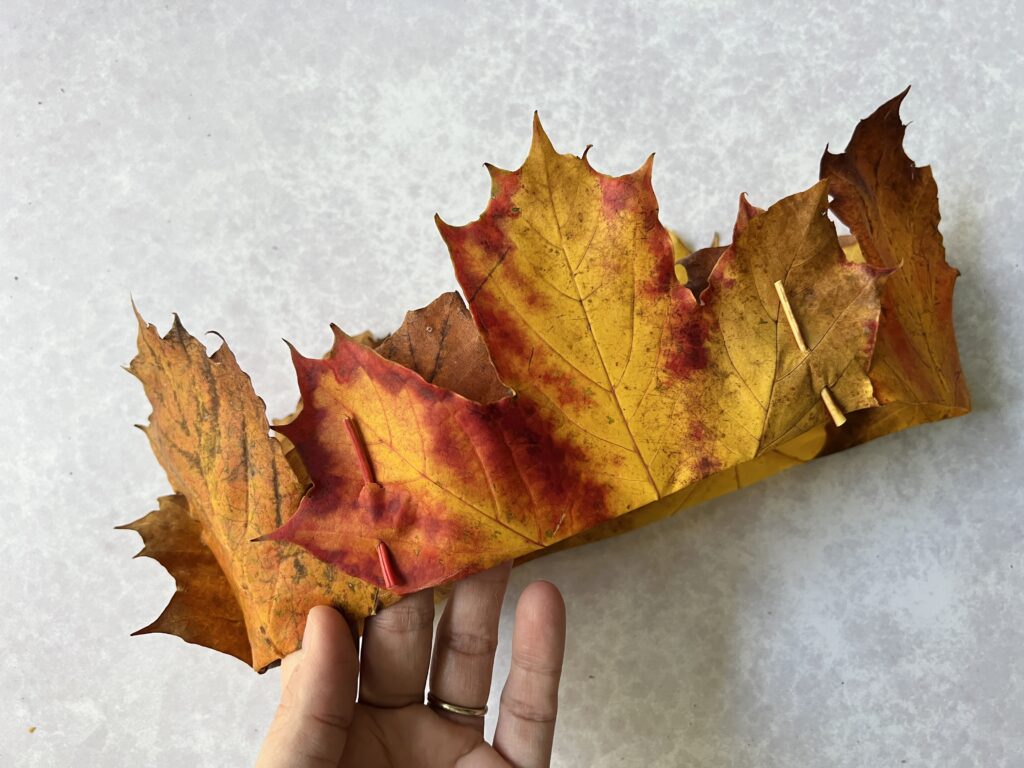
Ta da! Your crown us ready.
We collected the leaves and took them home to make the crowns, but you could also make them when out and about. I just find it a little tricky to get the stems off without tearing the leaves, if not using scissors, but these days I usually have a little pair of scissors in my backpack if we go on a nature walk. You never know when you might need them!


