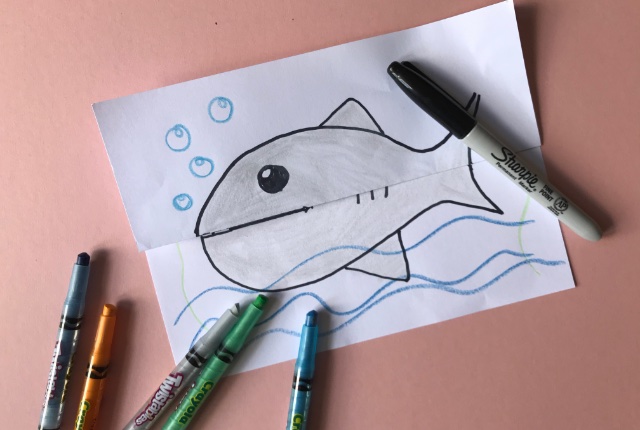
Surprise Drawing Activity
This week’s summer crafting activity is actually more of a drawing activity, but it’s a really fun one and there is no end to the creative variations you could think up for the surprise drawings we will be making. All you need is plain A4 paper and pens.
Who is this activity suitable for?
Older kids will be able to do this all by themselves, younger kids may need some help drawing the initial outlines but can join in with colouring and adding details.
I’ve recorded a short video to show you how it’s done and some of the variations my kids came up with. If you scroll further down, you’ll also find step-by-step instructions with photos if you, but it’s a lot more fun to see the drawings in action in the video. At the end of this post, I’ve also included a couple of templates to download and colour in, for anyone who doesn’t feel confident enough to draw their own, but do try and give it a go yourselves – there’s not much you can do wrong.
Here’s the video to show you what to do…
And here are the step-by-step instructions…
Step 1: Take an A4 sheet of paper and place it front of you with the short sides at the top and bottom.
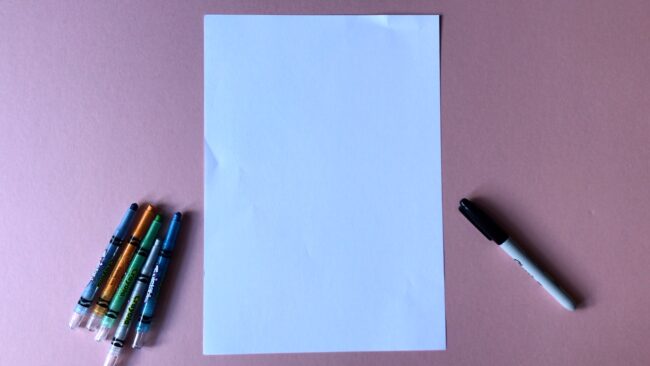
Step 2: Fold the bottom half up, make a crease, then fold it down again. You should now have a crease along the middle of the paper.
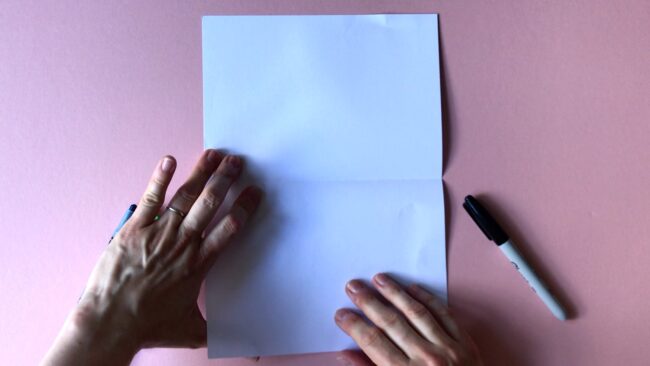
Step 3: Take the bottom end and fold it up to meet the crease you have just made, and flatten it down.
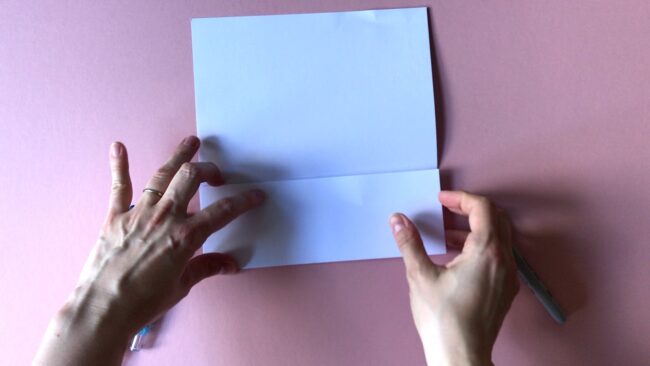
Step 4: Now fold that folded up piece backwards along the middle crease, and lay the paper in front of you with the folded part on the top half of the upper side – the video really shows this better than I could explain it in words.
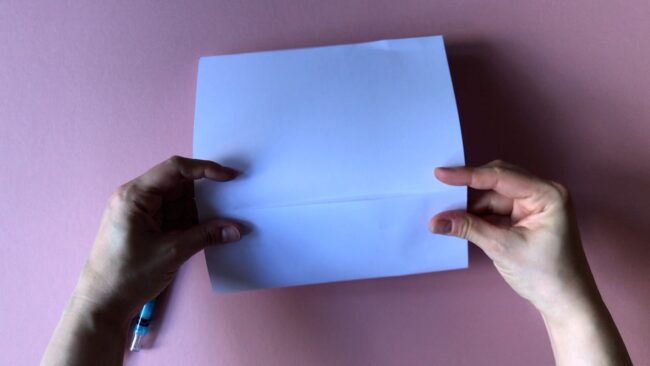
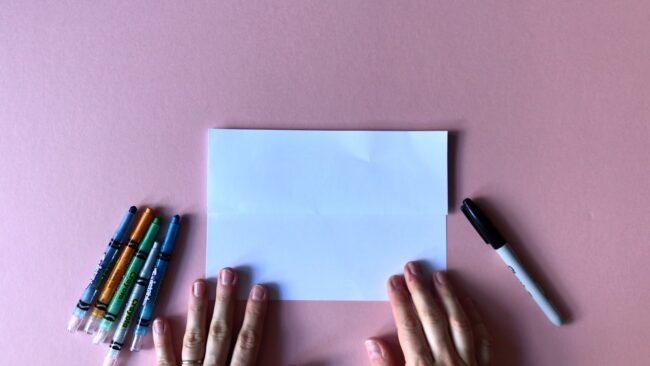
Step 5: Draw a picture across the fold. A fish is an easy one to start with if you are doing this for the first time. You want the fold to be roughly along the middle of your fish. Draw a line along the fold where you want the mouth to be.
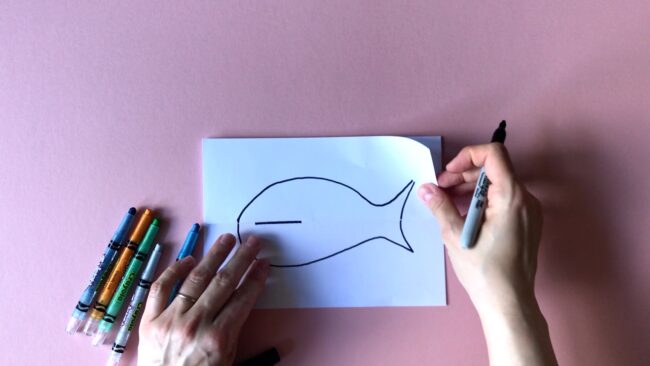
Step 6: Unfold the piece of paper – you should now have two halves of a fish with a big gap in between. Join up the mouth and the two pieces of the tail – again, the video show this much better than explaining in words.
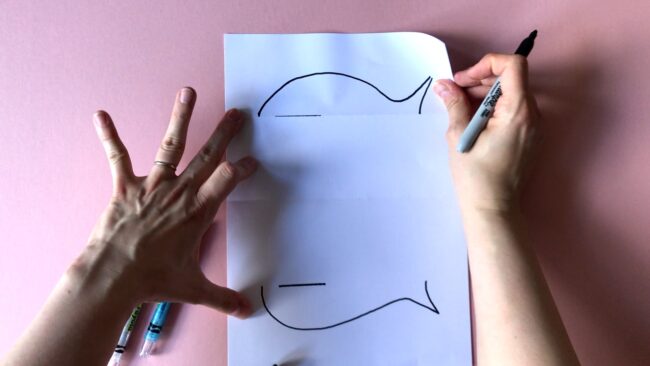
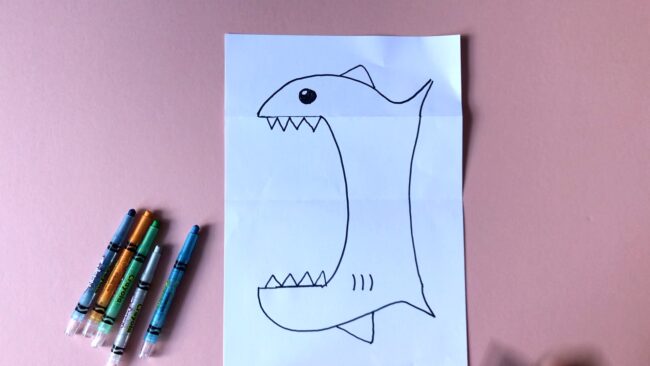
Step 7: Add in some details, such as eyes, fins and teeth. Draw something in the space between the fish’s mouth e.g. a smaller fish. Then colour your drawing in.
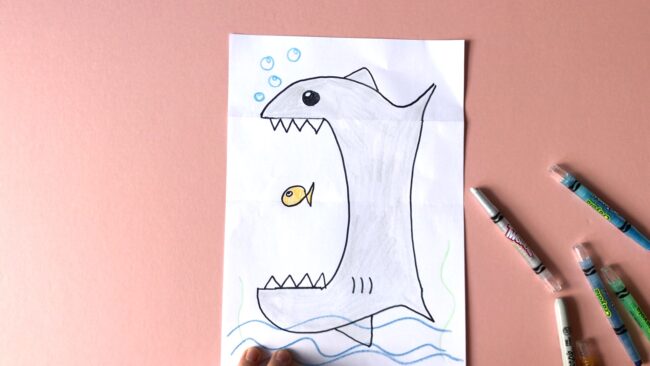
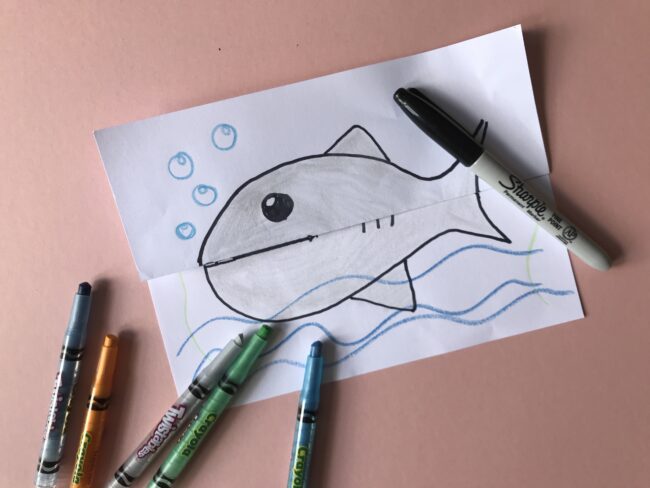
Step 8: Finished! Folded up, your drawing looks like a harmless little fish. Unfolded, it’s a fierce shark eating a smaller fish.
DOWNLOADS
What other surprise pictures can you think of to draw?
If you enjoyed today’s activity, please feel free to leave a comment or tag me in on Twitter and Instagram. And in case you missed it, check out our other summer camp crafts. Remember to use the hashtag #BearAndFoxSummerCamp if you are sharing any photos!
[line]
All Summer Camp activities are free to make them accessible to as many people as possible. However, if you enjoy the activities and are able to, you can support me with a donation on Ko-fi. Just hit the button below. Every little helps and is much appreciated. Thank you.


hayley gray
looks good, been finding my older children don’t really want to spend much time with there boring mum anymore. But they love crafts and coloring so i will give this a try with them and get all the kids involved.
Sabina Green
Great idea! Really simple and the kids could get very creative with lots of ideas.
Sarah-Marie
What a fun activity. My eldest would absolutely love doing this! When I was a child, I’m sure one of my relatives could do something similar with the Queen on a £5 note!
Claire
These are brilliant! Just the right sense of humour for children as well.
I think we could have a lot of fun with this, thank you x
Pingback: Planning for April – The Bear & The Fox